Streamlining Bind Joint Skeleton Creation
The past few weeks I have been focused on tools related to automated generation of control and driver rigging in Maya. For this next project I have been shifting my focus towards making tools to help with the bind skeleton and skinning process.
A lot of the standard setups for character driver rigging, especially for game ready rigs, follow certain formulas and are usually straightforward to script and automate. The most variation and work rig to rig is often on the bind skeleton and weights side of the rigging process, where each character will need their weights manually attended to due to proportion variations. But there is still room for opportunity to automate some aspects of these process.
One pinch point I have always had is with the creation of the bind skeleton. The most import aspect of making the joint hierarchy for character rigging is the individual point placement of the joints themselves, and how that can most accurately reflect real anatomy. However, due to limitations from simulating animation in 3D space, joints have specific orientation and parent-child relationships they need to follow so that the control rig doesn’t blow up or act in ways an animator does not expect.
Since I have already built out my pipeline tools with the idea of modularity, I can extend this same design to a bind joint placement system.
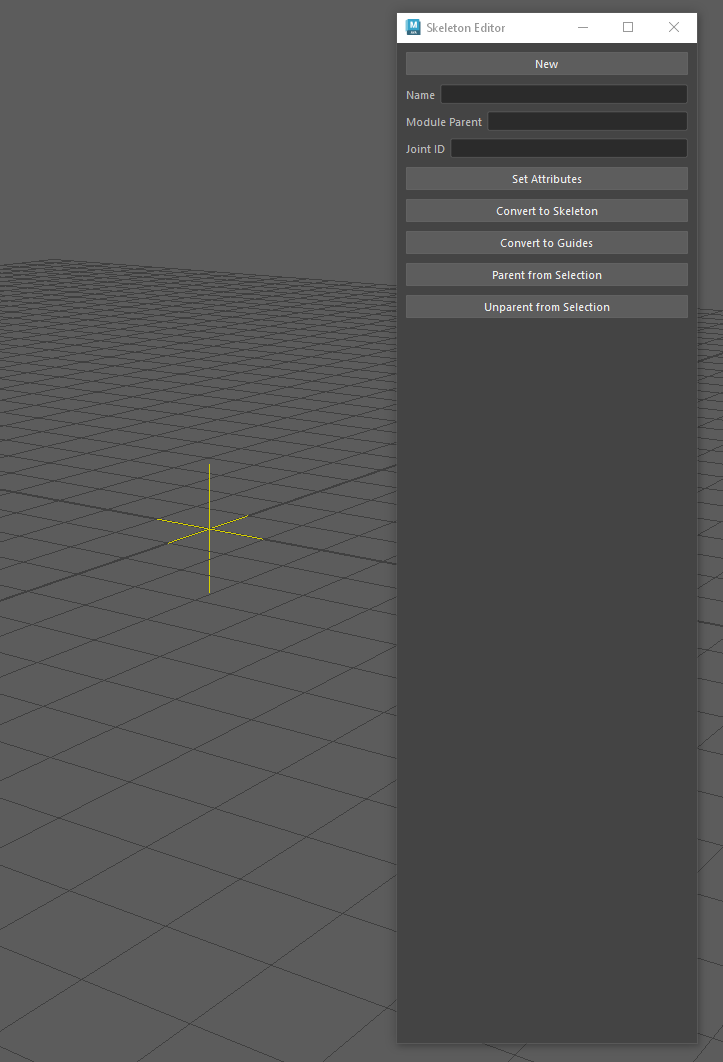
This tool is a UI that’s main function is placing special locators. Each locator represents one joint in the final bind skeleton and is automatically assigned empty attributes that my control rig is looking for to define the joints.
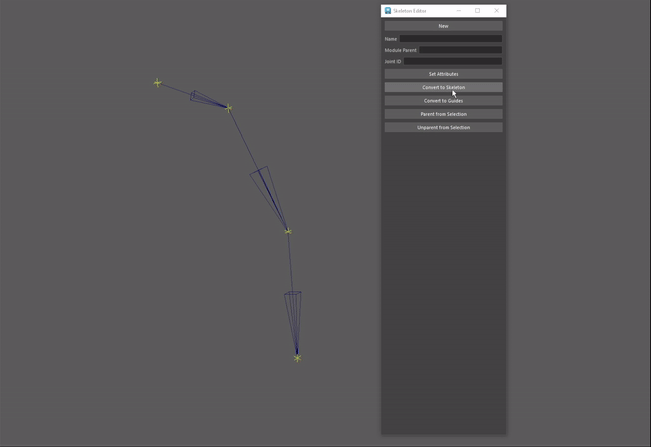
Let’s take an arm for example. My basic arm setup is four joints, where the clavicle is aimed down the bone at the shoulder joint, and the shoulder, elbow, and wrist are coplanar to allow for an IK setup. You would create those four joints as locators, but be free to move them because they will be a flat hierarchy. Technically by holding the insert key you can move a node without moving its child, but that would still require some channel tweaking to maintain coplanarity. Instead, with my system you tag something as a parent and child, represented by guiding arrows that visually describe the nodes as if they were parented.
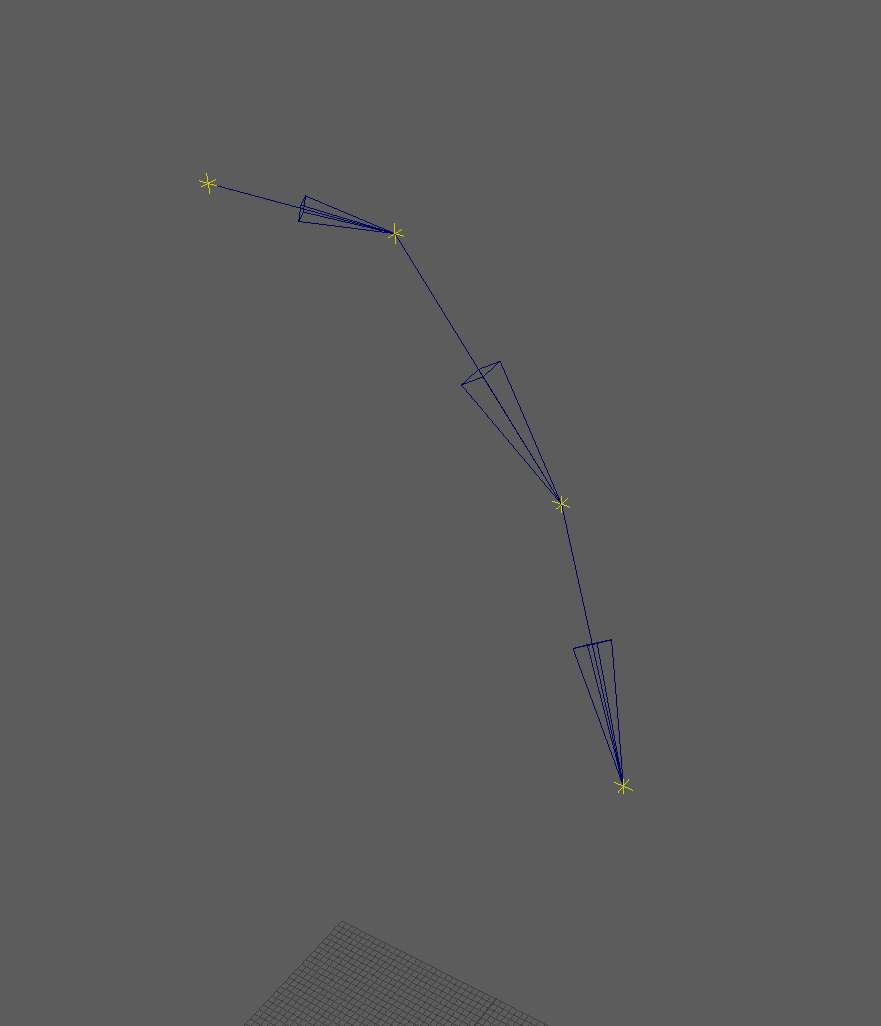
Once all the locators are placed in their desired position, you can turn them into joints that will parent based on how the arrows describe the relationships. I have also made this functionality bidirectional, so the joints can be turned back into locators to edit their positions freely.
The next piece of this tool that I’m working on is presets that will handle orientation relationships. In the arm example, if the system reads that all of the joints needed for a human_arm exist in the scene, those joints will be made coplanar, based on pre-defined aim and up vectors. Ultimately, I want the only concern during the joint placing process to be the placement and consideration of anatomy, without having to worry about any rotation values for the control rig.